GOOGLE · FLOW EXPLOSIONSANSICHT

Dein Produkt baut sich selbst zusammen.

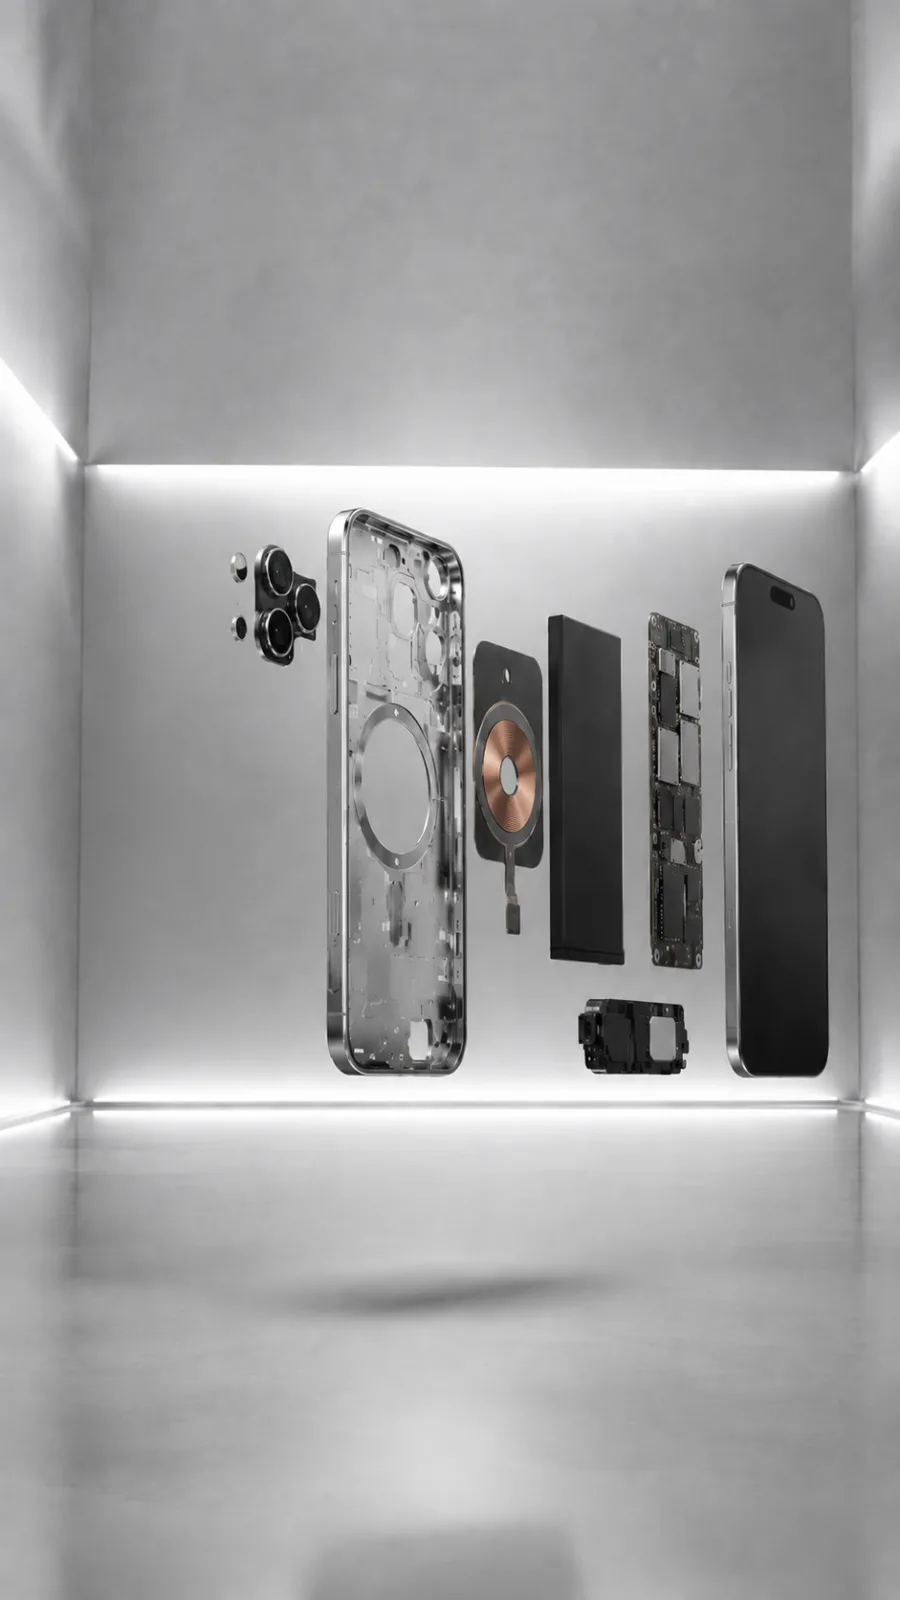
Drei Ansichten vom Gerät, ein Explosions-Bild aus ChatGPT, ein Prompt in Google Flow, und aus dem zerlegten Haufen wird in Sekunden ein Premium-Werbespot.

Free (eingeschränkt) · Google AI Plus (4,99 €/Monat) · Google AI Pro (21,99 €/Monat) · Google AI Ultra (ab 99,99 €/Monat)

Laptop · 10 Sek.
Smartphone · 8 Sek.

Was die Explosionsansicht besonders macht.

Vier Mechaniken, die diesen Effekt von einem normalen Produktvideo unterscheiden.

01 · DREI ANSICHTEN

Drei Blickwinkel statt einem.

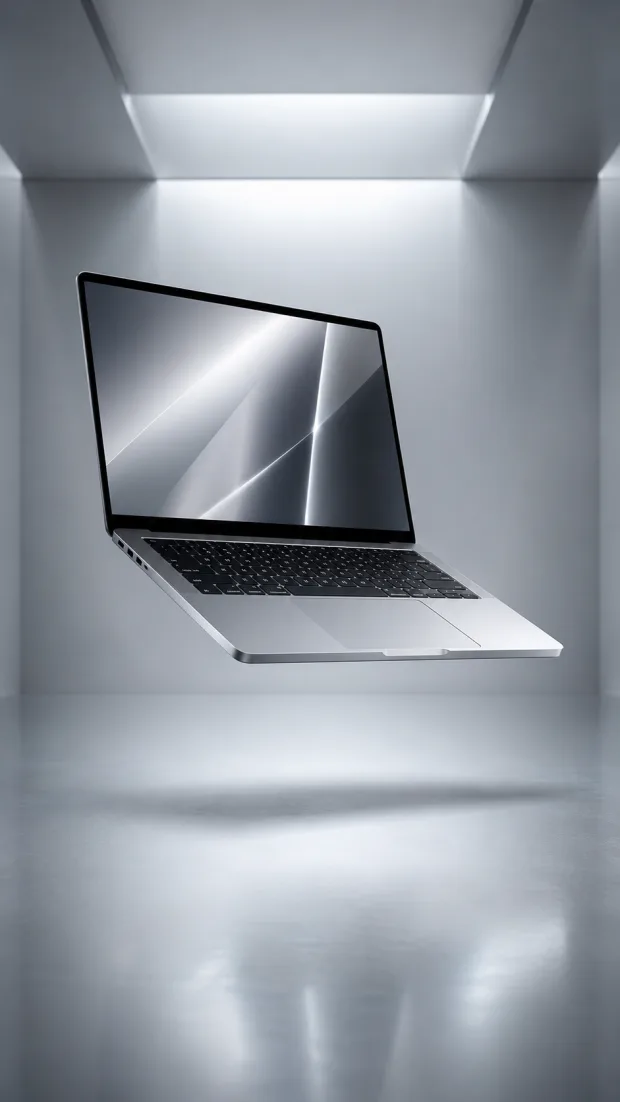
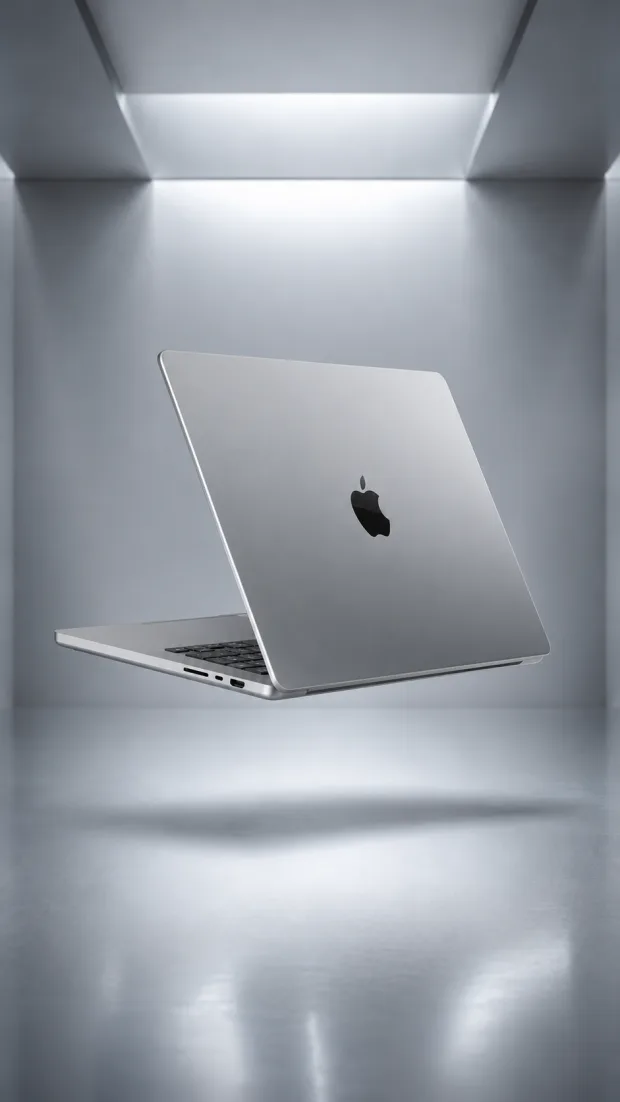
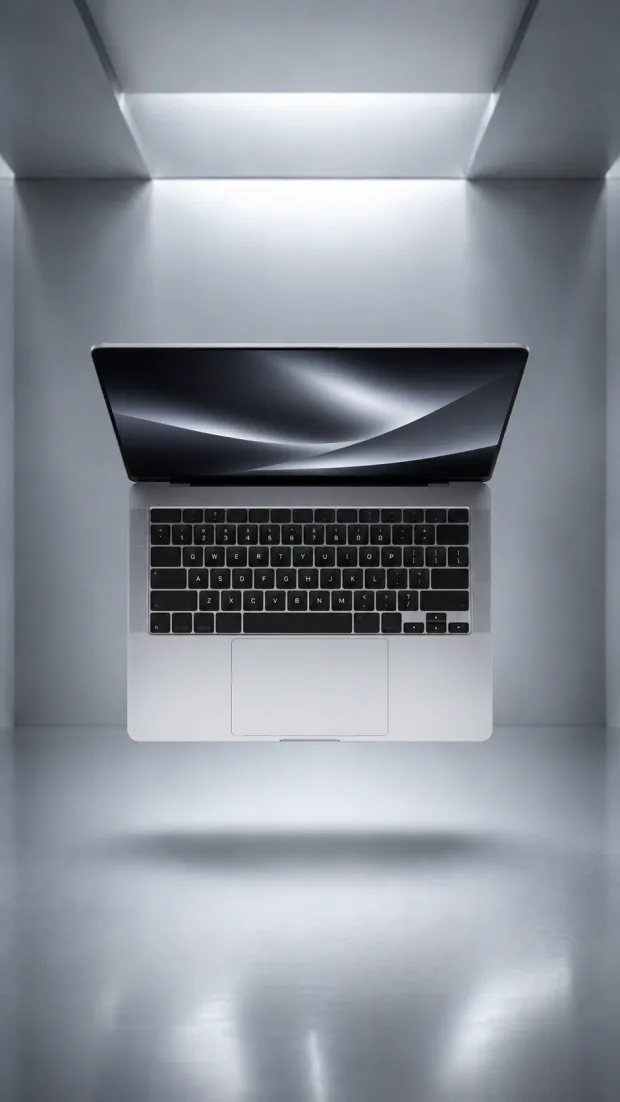
Aus einer einzigen Frontansicht rät das Bildmodell den Rest, und erfindet Bauteile, die es nicht gibt. Vorderseite, Rückseite und Draufsicht belegen die Silhouette von allen Seiten. Erst dann besteht die Explosionszeichnung aus Teilen, die wirklich zum Gerät gehören.

02 · ECHTE BAUTEILE

Bauteile, keine Puzzleteile.

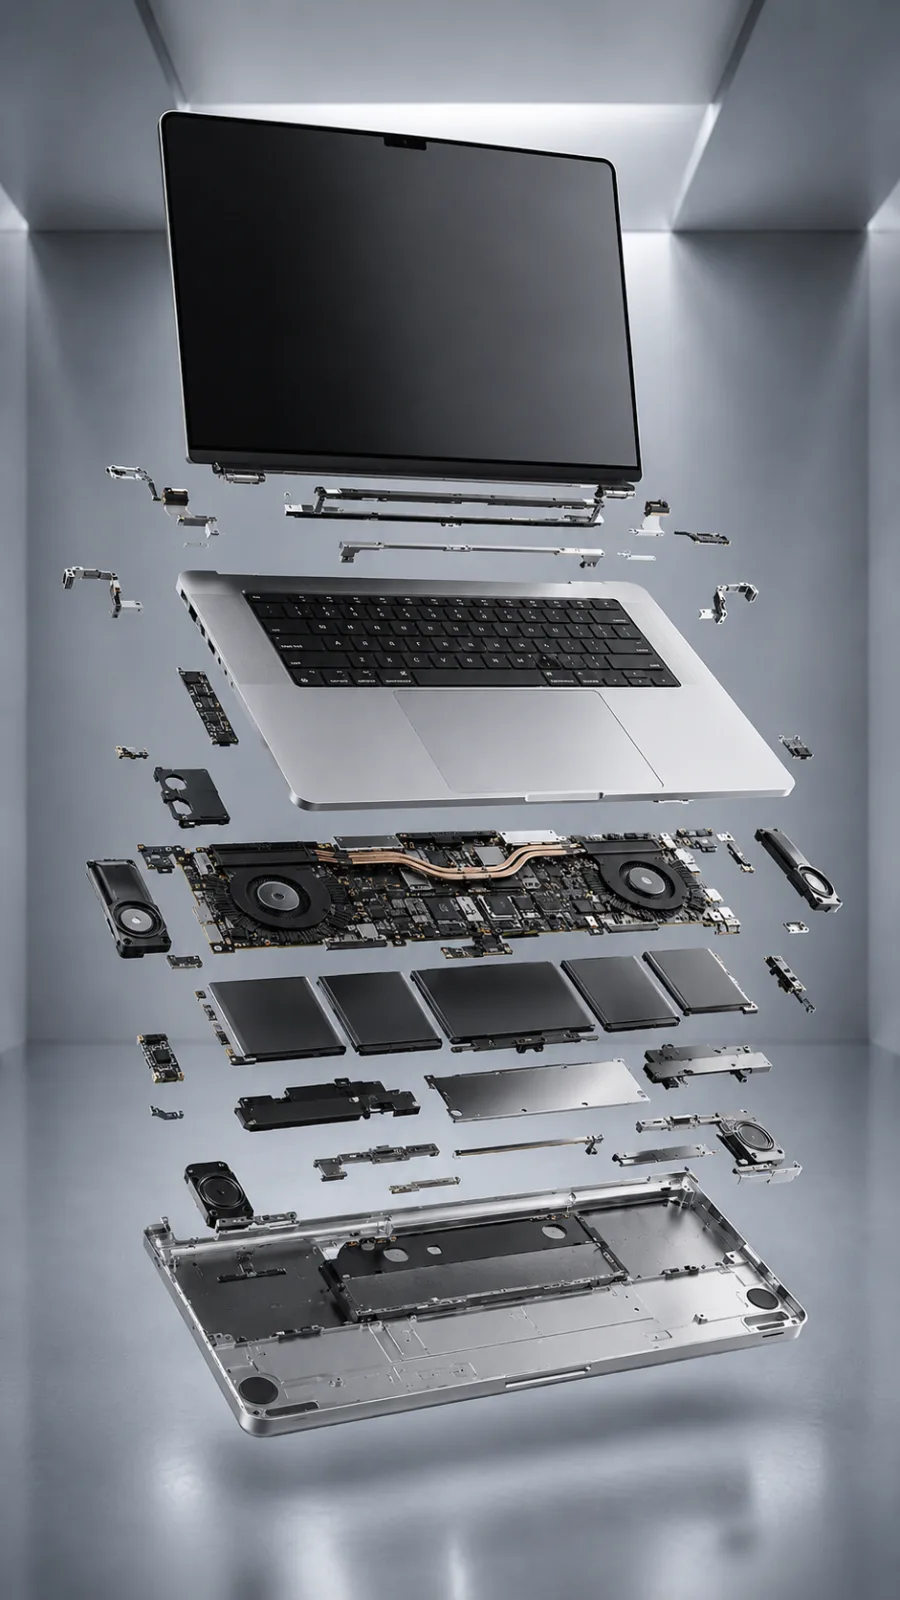
Display, Deck, Platine, Akku, Gehäuse, jedes Element ist ein Teil, das im echten Gerät existiert. Der Prompt verbietet Puzzlestücke, geschnittene Bildflächen und Morphing ausdrücklich. Genau daran scheitern die meisten Versuche.

03 · RÜCKWÄRTS-MONTAGE

Der Film läuft rückwärts.

Kein Auseinanderfliegen, kein Zerbrechen: Der Clip startet im zerlegten Zustand und setzt sich zusammen. Mehrere Teile kommen gleichzeitig aus verschiedenen Richtungen, drehen sich in Position und rasten ein, das ist der befriedigende Teil.

04 · 10 % HOOK, 90 % SPOT

Der Effekt ist nur der Aufhänger.

Die Montage ist nach einem Drittel vorbei. Danach läuft ein echter Werbespot: Makro-Aufnahmen, Lichtwanderungen, harte Schnitte, Hero-Shot am Ende. Genau diese Aufteilung steht als Prozentvorgabe im Prompt, sonst dreht Flow nur endlos ums Produkt.

Wie der Effekt wirklich arbeitet.

01 · Arbeitsteilung

Das Bildmodell baut, Flow bewegt.

Eine saubere Explosionszeichnung ist eine Bildaufgabe, keine Videoaufgabe. ChatGPT kann sie in Ruhe konstruieren: Bauteil für Bauteil, mit Abstand und Tiefe. Flow bekommt dieses Bild fertig serviert und muss nur noch Bewegung, Licht und Schnitt liefern.

02 · Startbild

Frame 0 wird wörtlich übernommen.

In Flow geht das Explosions-Bild über „Frames to Video“ als erster Frame rein. Der Clip beginnt dadurch exakt im zerlegten Zustand, Flow muss die Explosion nicht erfinden und kann auch nicht mit dem fertigen Produkt starten, was sonst der häufigste Fehler ist.

03 · Identitäts-Anker

Ein Produkt, kein zweites Modell.

Der längste Prompt-Block ist eine Verbotsliste: Design, Geometrie, Proportionen, Farben, Materialien, Branding und sichtbarer Text dürfen sich über alle Schnitte hinweg nicht ändern. Ohne diesen Block driftet das Produkt ab Sekunde 4 in eine eigene Variante ab.

04 · Proportionen

Prozente statt Sekunden.

Der Prompt gibt die Struktur relativ vor: rund 10 % zerlegt, 20–30 % Montage, 50–60 % Werbespot, 10–15 % Hero-Shot. Dadurch funktioniert derselbe Prompt für 8-Sekunden- und 10-Sekunden-Clips, ohne dass die Montage den ganzen Film auffrisst.

Vier Fälle, in denen der Effekt sofort verkauft.

01 · Hersteller

Qualität sichtbar machen

„Hochwertig verarbeitet“ ist eine Behauptung. Ein Clip, der das Gerät in seine Einzelteile zerlegt und wieder zusammensetzt, ist ein Beweis, ohne Fotostudio, ohne echtes Gerät zu opfern.

02 · Shop-Betreiber

Produktlaunch als Reel

9:16, 8 Sekunden, erster Frame schon spannend: Die Explosionsansicht stoppt den Daumen, bevor die Marke überhaupt genannt wird. Danach läuft der Spot mit dem Produkt in voller Größe.

03 · Agentur

Moodfilm für den Pitch

Statt Storyboard auf Papier: ein fertig aussehender Spot im Pitch-Deck. Drei Produktansichten reichen als Vorlage, der Kunde sieht sein eigenes Produkt, nicht ein Stock-Beispiel.

04 · Technik-Content

Erklären, was drin steckt

Akku, Platine, Kühlung, Lautsprecher, im zerlegten Startbild ist alles beschriftbar. Der Clip liefert erst den Aufbau und danach das Gerät, das es tatsächlich in den Laden schafft.

Dein Explosions-Prompt zum Kopieren.

Dieser Prompt gehört in Google Flow, direkt unter das Explosions-Bild. Er ist bewusst lang: Der halbe Text besteht aus Verboten, die verhindern, dass Flow Puzzleteile baut, das Produkt umgestaltet oder nur um den fertigen Gegenstand kreist. Nichts kürzen, genau diese Blöcke machen den Unterschied.

explosion-prompt.txt
Create a premium cinematic product advertisement using the uploaded product image as the EXACT visual and identity reference for the finished product.

IMPORTANT DIRECTING RULE

The uploaded image represents the FINAL assembled appearance of the product. Do NOT treat the uploaded image as the opening frame of the animation. Instead, generate all earlier moments independently while preserving the exact identity of the uploaded product. The final assembled product must perfectly match the uploaded image.

VIDEO STRUCTURE

Regardless of the total generated video duration, structure the advertisement proportionally. Opening (~10%) - Already dismantled product. Early sequence (~20-30%) - Fast cinematic assembly. Main sequence (~50-60%) - Professional commercial showcasing the fully assembled product. Ending (~10-15%) - Premium hero shot. The assembly effect is ONLY the opening hook. The majority of the video must showcase the completed product like a real premium commercial.

OPENING

Begin immediately with the product already completely dismantled. The product should appear as an exploded mechanical assembly consisting only of real, recognizable components that belong to the uploaded product. Every separated piece should clearly correspond to an authentic visible part of the product. Position these components naturally around the final assembly location with believable spacing and depth. Do NOT begin with the assembled product. Do NOT animate the product breaking apart. The first visible moment should already show the exploded state.

ASSEMBLY

Immediately begin a satisfying reverse assembly. Every genuine product component rapidly travels toward its correct position. Components should rotate naturally, align precisely, slide together, interlock, connect and snap into place with believable mechanical motion. Multiple parts should assemble simultaneously from different directions to create an energetic premium assembly. The assembly should feel engineered, intentional, satisfying, premium, cinematic, and highly realistic. Complete the entire assembly within approximately the first one-third of the total video. Once assembled, the product must remain completely assembled for the rest of the advertisement.

CRITICAL ASSEMBLY RULES

Generate a TRUE exploded mechanical assembly. Every moving object must be a recognizable component belonging to the uploaded product. Never substitute real components with: puzzle pieces, jigsaw pieces, geometric fragments, sliced image panels, cubes, polygons, voxels, paper cut-outs, abstract floating shapes, random shards, image fragments, flat pieces, melting transitions, morphing effects. The assembly must be driven by authentic product components rather than abstract visual effects. If internal components are not visible in the uploaded image, intelligently infer realistic construction while maintaining the exact same external appearance. Never invent unrealistic structures that change the product's identity.

HIGH-END PRODUCT COMMERCIAL

The instant the assembly is complete, immediately transition into a premium high-energy commercial edit. The assembly effect is finished. From this moment onward the product remains fully assembled throughout the rest of the advertisement. Do NOT simply rotate around the product. Do NOT hold a single camera angle. Do NOT create one continuous orbit. Instead, edit the remainder like a professionally directed luxury commercial. Create multiple short cinematic shots connected with seamless premium transitions. Every shot should introduce a fresh visual perspective while maintaining perfect product consistency. Use dynamic commercial cinematography including: Hero product shots, Dramatic wide angles, Extreme macro close-ups, Material texture reveals, Branding close-ups, Product feature highlights, Surface detail reveals, Reflection reveals, Rim-light beauty shots, Push-ins, Pull-outs, Dynamic tracking shots, Low-angle hero shots, Side-angle cinematic tracking, Controlled orbit shots, Foreground parallax, Rack-focus transitions, Lens reveals, Whip transitions, Match cuts, Speed ramps, Motion blur transitions, Fast cinematic cuts, Dynamic framing, Cinematic perspective changes, Elegant reveal shots, Selective slow-motion beauty moments, Smooth camera-to-camera transitions, Dramatic lighting transitions, Light sweeps moving naturally across surfaces, Reflection movement across premium materials.

Every cut should reveal a different attractive characteristic of the product. The commercial should constantly evolve with fresh compositions, fresh lighting, fresh camera movement, fresh framing and fresh editing. Avoid repeating similar shots. Editing should feel rhythmic, intentional, modern, energetic and premium. The second half should resemble a professionally edited global advertising campaign rather than AI-generated footage. Prioritize cinematic editing as much as cinematography. The product should always remain the hero while the editing creates excitement.

COMMERCIAL EDITING STYLE

Edit the advertisement like a premium brand campaign. Use professional commercial pacing. Alternate between macro shots, medium shots and hero shots. Create strong visual rhythm through editing. Keep the pacing dynamic. Use impactful transitions between shots. Build visual momentum throughout the advertisement. Create satisfying reveal moments. Balance fast energetic edits with occasional slow cinematic beauty shots. Every second should introduce new visual interest. Avoid long uninterrupted shots. Avoid repetitive camera movement. Avoid static showcases. Avoid generic product spins. The overall feeling should resemble a professionally edited luxury commercial.

COMMERCIAL LIGHTING & VISUAL EFFECTS

Enhance the product with sophisticated commercial cinematography. Use dramatic but realistic lighting. Moving highlights naturally travelling across surfaces. Controlled reflections. Specular highlights. Soft environmental reflections. Rim lighting. Deep controlled shadows. Beautiful contrast. Volumetric depth where appropriate. Shallow depth of field for macro shots. Realistic motion blur during fast camera movement. Subtle lens flares where naturally appropriate. Elegant light streaks. Premium glow from reflections. Natural environmental movement. Every shot should feel professionally filmed rather than AI generated. Effects should enhance the product rather than distract from it. Avoid excessive particles. Avoid unnecessary explosions. Avoid unrealistic energy effects.

PRODUCT IDENTITY & CONSISTENCY

The assembled product must remain identical to the uploaded reference. Preserve exactly: Design. Geometry. Silhouette. Proportions. Colors. Materials. Textures. Surface finishes. Branding. Logos. Visible text. Graphics. Distinctive features. Product details.

Do NOT redesign the product. Do NOT create another variation. Do NOT change colors. Do NOT change branding. Do NOT change proportions. Do NOT hallucinate new features. Every shot must clearly depict the SAME product.

CAMERA

Use confident commercial cinematography. Smooth professional camera movement. Purposeful framing. Premium composition. Natural perspective. Every movement should emphasize the product rather than distract from it.

ENDING

Finish with the strongest hero shot of the completed product. Gradually slow the pacing. Hold on the finished product long enough to create a satisfying premium commercial ending. The final frame should feel like the closing shot of a global luxury advertising campaign.

VISUAL STYLE

Photorealistic. Ultra detailed. Premium. Luxury commercial. High-end advertising. Professional product cinematography. Commercial-grade editing. Modern. Energetic. Beautiful lighting. Sophisticated transitions. Luxury visual storytelling. Fast editorial pacing. Mechanically satisfying assembly. Elegant cinematography. Premium advertising aesthetic.

The result should feel like a REAL PRODUCT COMMERCIAL whose opening hook is an impressive assembly effect - not an assembly-effect demonstration followed by a simple product showcase.

STRICTLY AVOID

Beginning with the assembled product. Product disassembly. Puzzle-piece assembly. Jigsaw reconstruction. Image fragments. Geometric pieces. Morphing. Melting. Warping. Random floating objects. Incorrect product parts. Hallucinated branding. Distorted logos. Changing colors. Changing proportions. Changing materials. Changing product identity. Static showcases. One continuous orbit. Repetitive camera movement. Weak editing. Generic AI-looking effects. Assembly lasting most of the video. Any final product that differs from the uploaded reference.
In 4 Schritten startklar.

01

Drei Ansichten erzeugen

Vorne, hinten, oben: dieselbe Bühne, dasselbe Licht, dieselbe Farbe. Entweder als eigene Produktfotos oder direkt in ChatGPT generiert. Diese drei Bilder sind die Wahrheit über dein Produkt.

MacBook Pro von vorne, aufgeklappt, in einer hellen Studiobühne schwebend Dasselbe MacBook Pro von hinten mit sichtbarem Deckel und Anschlüssen Dasselbe MacBook Pro von oben mit Blick auf Tastatur und Trackpad
02

Explosions-Bild bauen lassen

Die drei Ansichten in ChatGPT hochladen und eine Explosionszeichnung anfordern: alle Bauteile schwebend, gleiche Bühne, echte Komponenten statt abstrakter Formen. Notfalls nachschärfen, bis kein Teil mehr erfunden aussieht.

Explosionsansicht des MacBook Pro: Display, Tastaturdeck, Hauptplatine mit Lüftern, Akkuzellen, Lautsprecher und Gehäuseboden schweben übereinander
03

In Flow als Startbild setzen

In Google Flow den Modus „Frames to Video“ wählen, das Explosions-Bild als ersten Frame hochladen und den Prompt von oben komplett darunter einsetzen. Seitenverhältnis auf 9:16, wenn der Clip für Reels gedacht ist.

04

Rendern und aussortieren

Mehrere Durchläufe starten und nur die Versionen behalten, in denen echte Bauteile einrasten und das Produkt bis zum letzten Frame identisch bleibt. Der erste Versuch sitzt selten, plane zwei bis vier Anläufe pro Produkt ein.

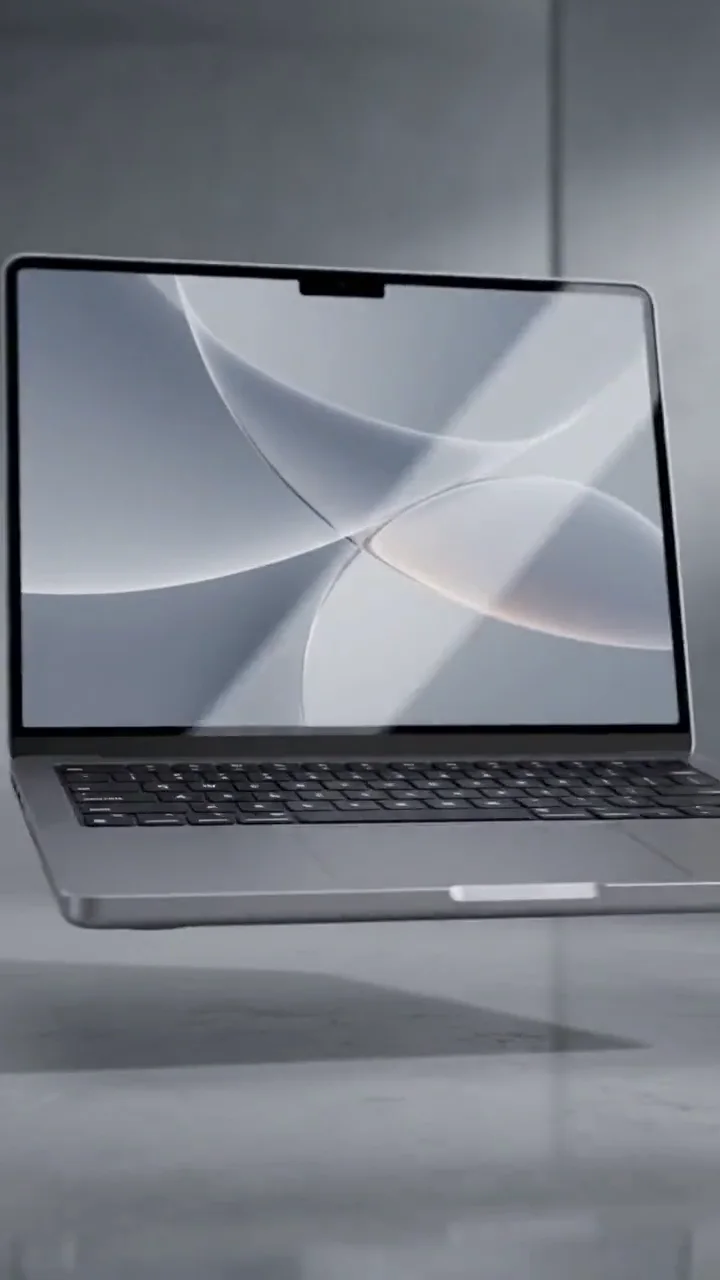
Standbild aus dem fertigen Flow-Clip: das MacBook Pro ist vollständig montiert und steht als Hero-Shot in der Studiobühne

Ein Produkt, drei Bilder, ein Spot.

Du brauchst kein Studio, kein Rendering-Team und kein zweites Gerät zum Zerlegen. Drei Ansichten, ein Explosions-Bild und dieser Prompt reichen für einen Clip, den man zweimal anschaut.

Mehr Tipps auf @till.schae

Häufige Fragen.

Warum brauche ich drei Ansichten vom Produkt?
Weil das Explosions-Bild nur so glaubwürdig wird. Aus einer einzigen Frontansicht kann das Bildmodell die Rückseite, die Anschlüsse und den Aufbau nur raten, es erfindet dann Bauteile, die es am echten Gerät nicht gibt. Mit Vorderseite, Rückseite und Draufsicht ist die Silhouette von allen Seiten belegt, und die Explosionszeichnung besteht aus Teilen, die tatsächlich zum Produkt gehören. Wichtig ist, dass alle drei Ansichten dieselbe Bühne, dasselbe Licht und dieselbe Farbe zeigen.
Wie kommt das Explosions-Bild in Google Flow rein?
Als Startbild. In Flow wählst du „Frames to Video“, lädst das Explosions-Bild als ersten Frame hoch und fügst den Prompt darunter ein. Flow übernimmt Frame 0 fast wörtlich, der Clip startet exakt im zerlegten Zustand, statt erst eine Explosion erfinden zu müssen. Genau das ist der Trick: Der schwierigste Bildmoment kommt aus einem Bildmodell, das ihn ruhig und kontrolliert bauen kann, und Flow muss nur noch die Bewegung dazu liefern.
Flow baut Puzzleteile statt echter Bauteile, was tun?
Das ist der häufigste Fehlschlag, und der Prompt hat dafür einen eigenen Block. Die Regeln „Never substitute real components with puzzle pieces, jigsaw pieces, geometric fragments, sliced image panels“ und „STRICTLY AVOID: Morphing, Melting, Warping“ müssen im Prompt bleiben, sie sind kein Füllmaterial. Wenn es trotzdem passiert, liegt es fast immer am Startbild: Ist die Explosionszeichnung selbst unsauber oder zeigt sie flache, geschnittene Flächen statt räumlicher Bauteile, übernimmt Flow diesen Fehler. Dann lieber das Bild neu erzeugen als den Clip neu rendern.
Funktioniert das auch mit eigenen Produktfotos statt AI-Bildern?
Ja, und meistens sogar besser, weil die Produkt-Identität dann von Anfang an stimmt. Fotografiere das Produkt von vorne, hinten und oben vor neutralem Hintergrund mit gleichbleibendem Licht, lade die drei Fotos in ChatGPT und lass daraus die Explosionszeichnung bauen. Ab da ist der Ablauf identisch. Bei echten Fotos lohnt sich der Hinweis im Bild-Prompt, dass Farbe, Logo und Proportionen unverändert bleiben müssen, sonst poliert das Modell das Produkt gerne „schöner“, als es ist.
Welchen Google-Plan brauche ich dafür?
Die Clips auf dieser Seite sind 8 bzw. 10 Sekunden in 9:16 (720×1280 Preview) und entstanden mit Veo 3.1 in Google Flow, die Explosions-Bilder in ChatGPT. Google AI Pro (21,99 €/Monat, 1.000 Flow-Credits) reicht für regelmäßige Generierungen, Google AI Ultra (ab 99,99 €/Monat, 10.000 Credits) entfernt zusätzlich das sichtbare „Veo“-Logo. Der kostenlose Zugang funktioniert im Ansatz, liefert aber niedrigere Qualität und ein Wasserzeichen. Rechne mit mehreren Anläufen pro Produkt, die Montage sitzt selten im ersten Versuch.